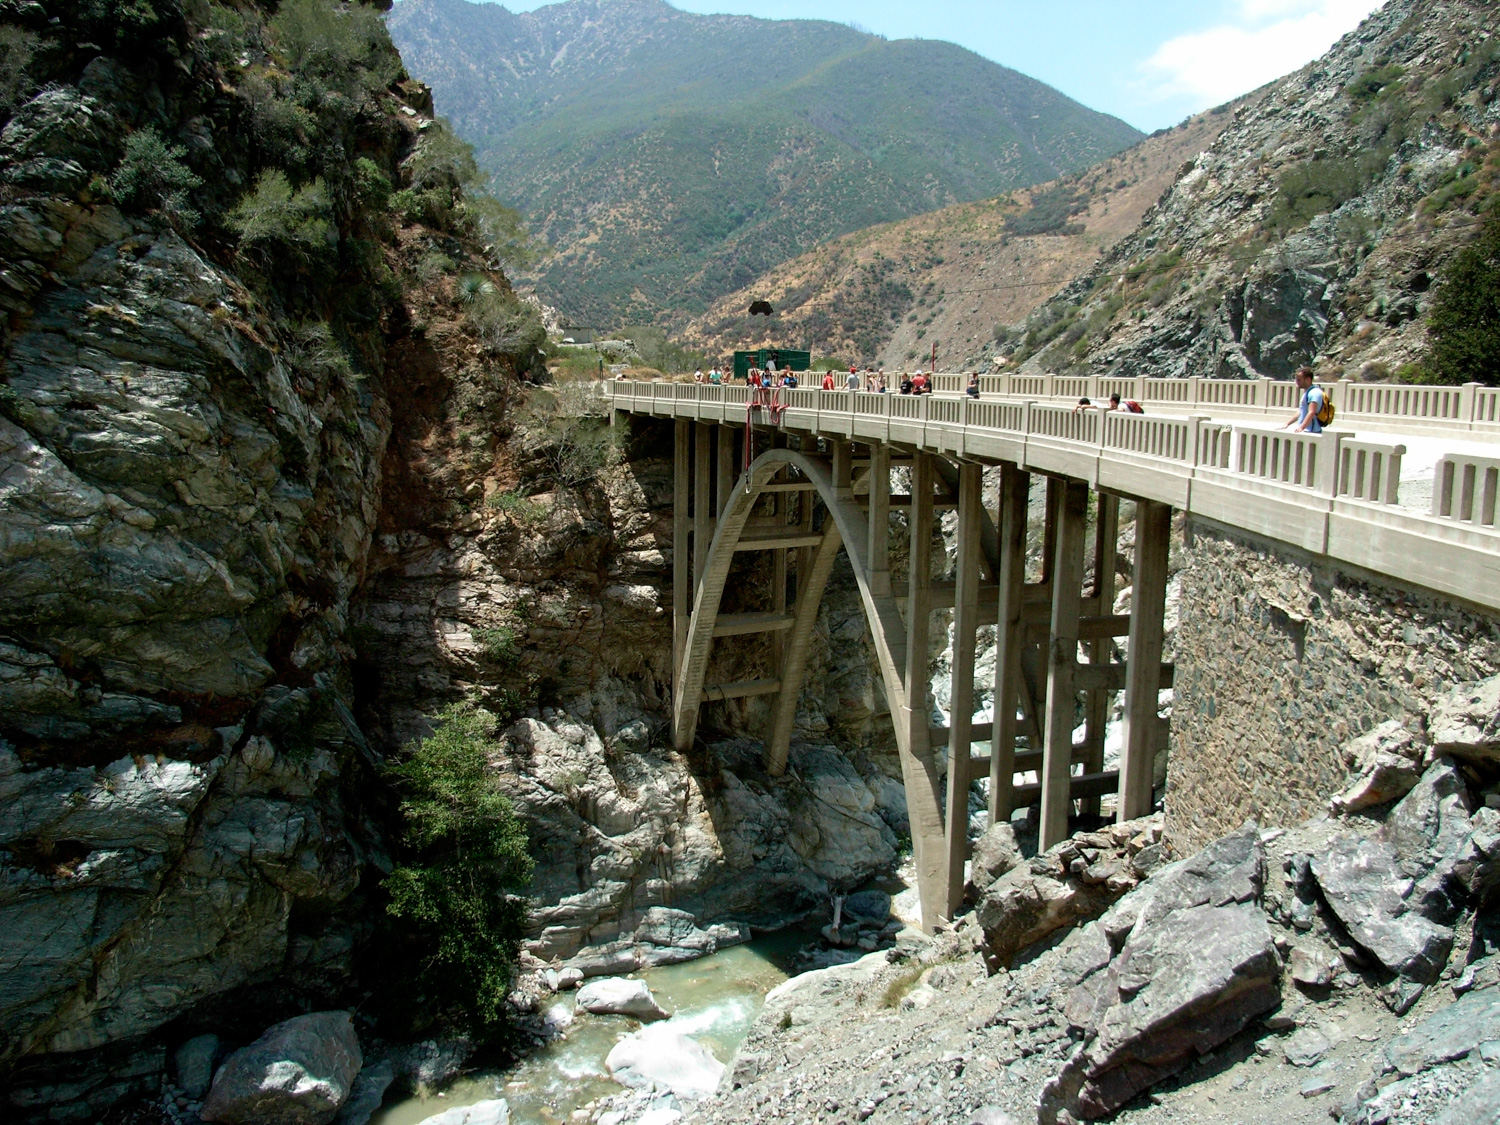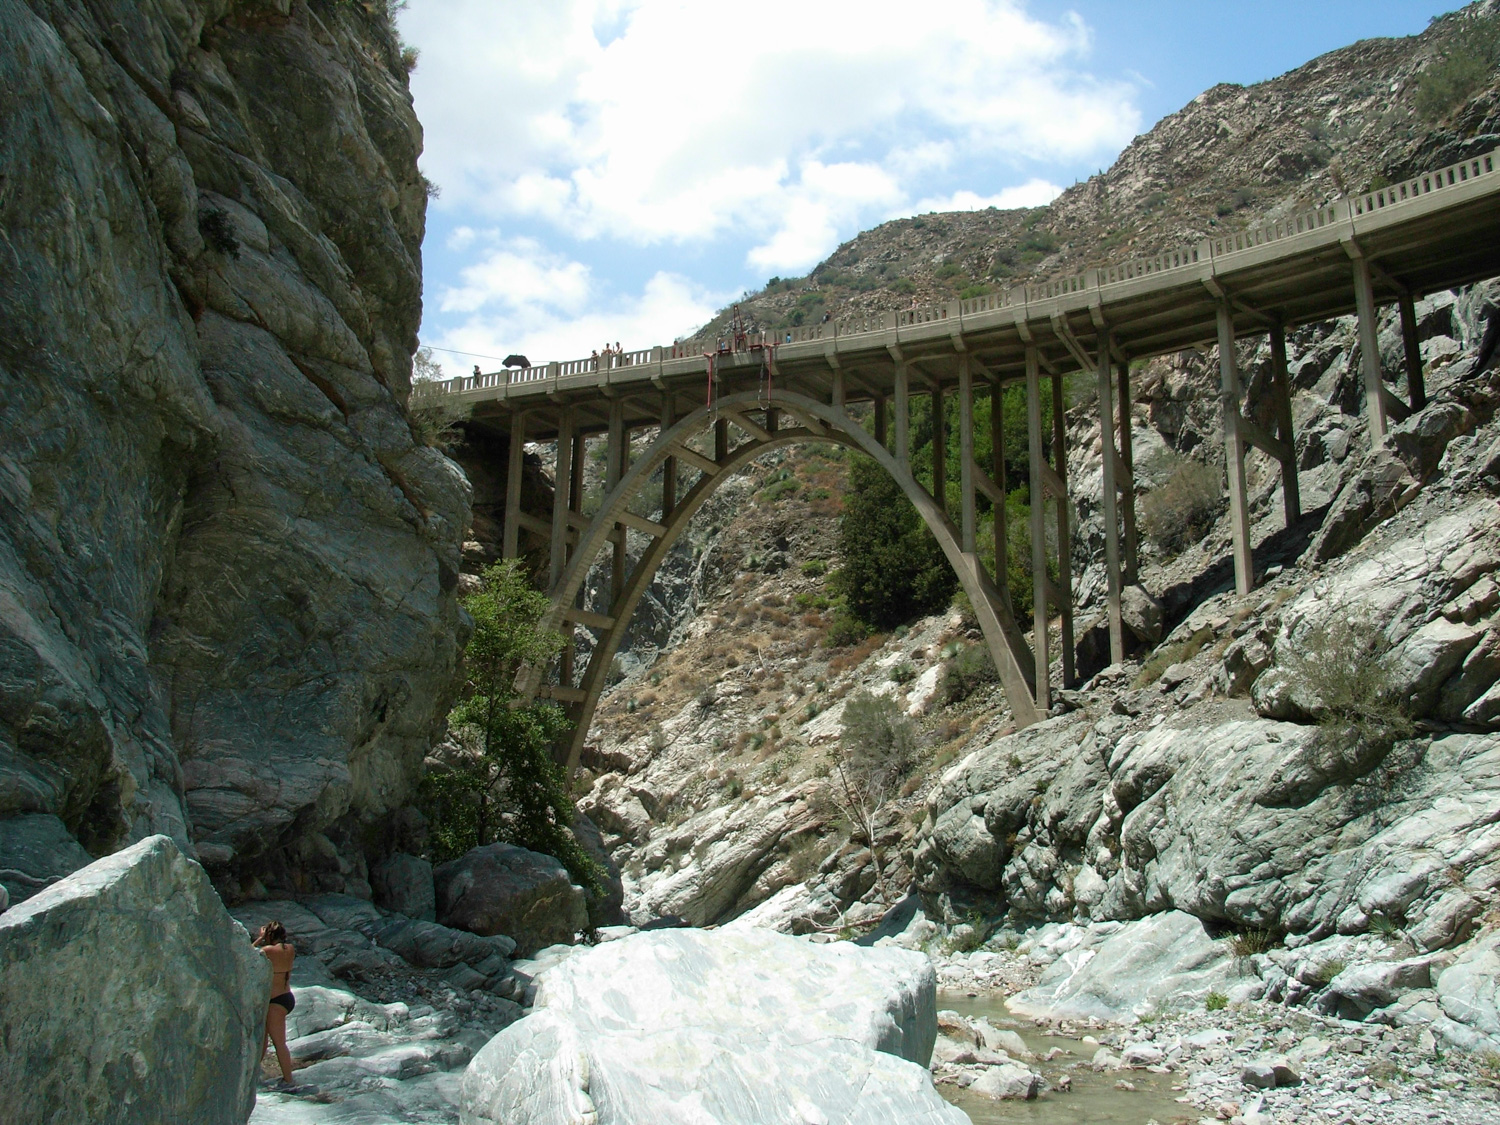

The iconic Bridge to Nowhere hike is a tough 10 mile trek down the East Fork of the San Gabriel River, following the path of an attempted highway. This hike features multiple river crossings, plenty of opportunities to swim, historic sections of visible roads and tunnels, and the Bridge to Nowhere — a 120 foot high concrete bridge in the middle of the canyon. The bridge is an odd and beautiful sight that is unparalleled in the San Gabriels — and it’s also the only place in California were bungee jumping is allowed (on weekends).
Note: You will need a free Wilderness Permit to hike inside the Sheep Mountain Wilderness to the Bridge to Nowhere. You can obtain one at any manned ranger station or visitor center in the Angeles National Forest / San Gabriel Mountains National Monument or at a self-service registry at the trailhead.
A few notes on this trail before you decide to venture here. First, although you can hike this year-round, there are different precautions you should take depending on when you want to hike here. During the cooler winter months, expect water levels to be significantly higher and crossings to be more difficult. Also, if there is even a slight chance of a storm coming through the area, we recommend postponing your trip. This canyon has a long and storied history of deadly and destructive flash floods and you do not want to be here when that water comes barreling down this narrow canyon. If you hike in the warmer months, carry LOTS of drinking water and be sure you stop to eat snacks along the way. There is almost no shade and the trail – with its numerous boulder hops and crossings – is deceptively exhausting.
Also, if you are hiking with a dog, you’ll want to invest in a set of booties for them. The rocks here can get surprisingly hot, especially in the summer. Many a canine companion has had to be carried or even airlifted out of here because of burnt pads. Be kind to your fur buddies!
OK, now let’s get to the good stuff!
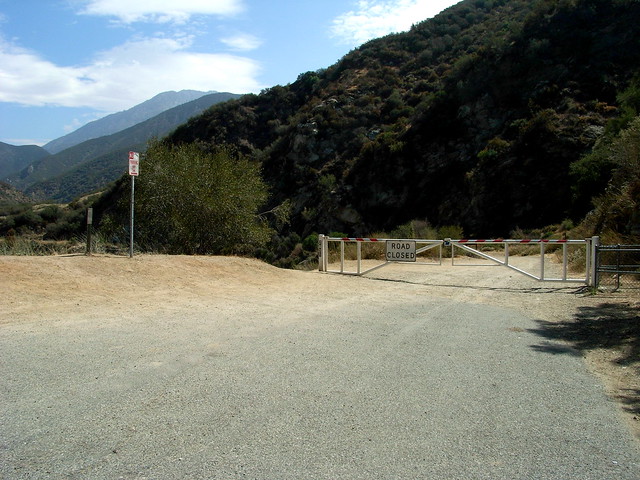
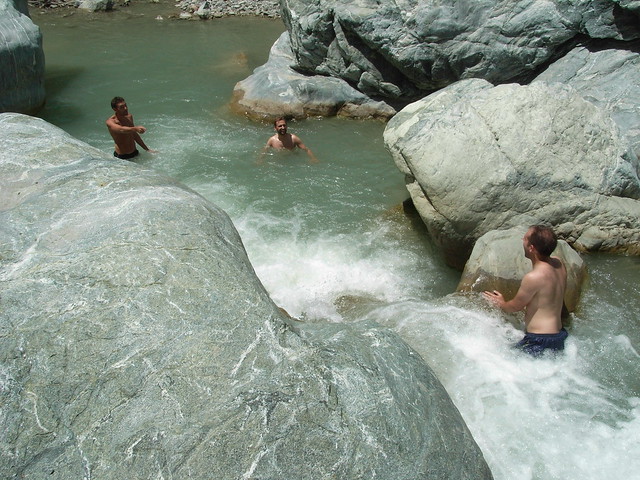
The area is a very popular swimming and picnicking destination, and on hot days you’ll often see tents and swimmers lined up along the entire river on the way in. Most of these bathers rarely venture a few hundred feet from their parked cars, however, so don’t let a crowded parking situation deter you from setting foot on the trail.
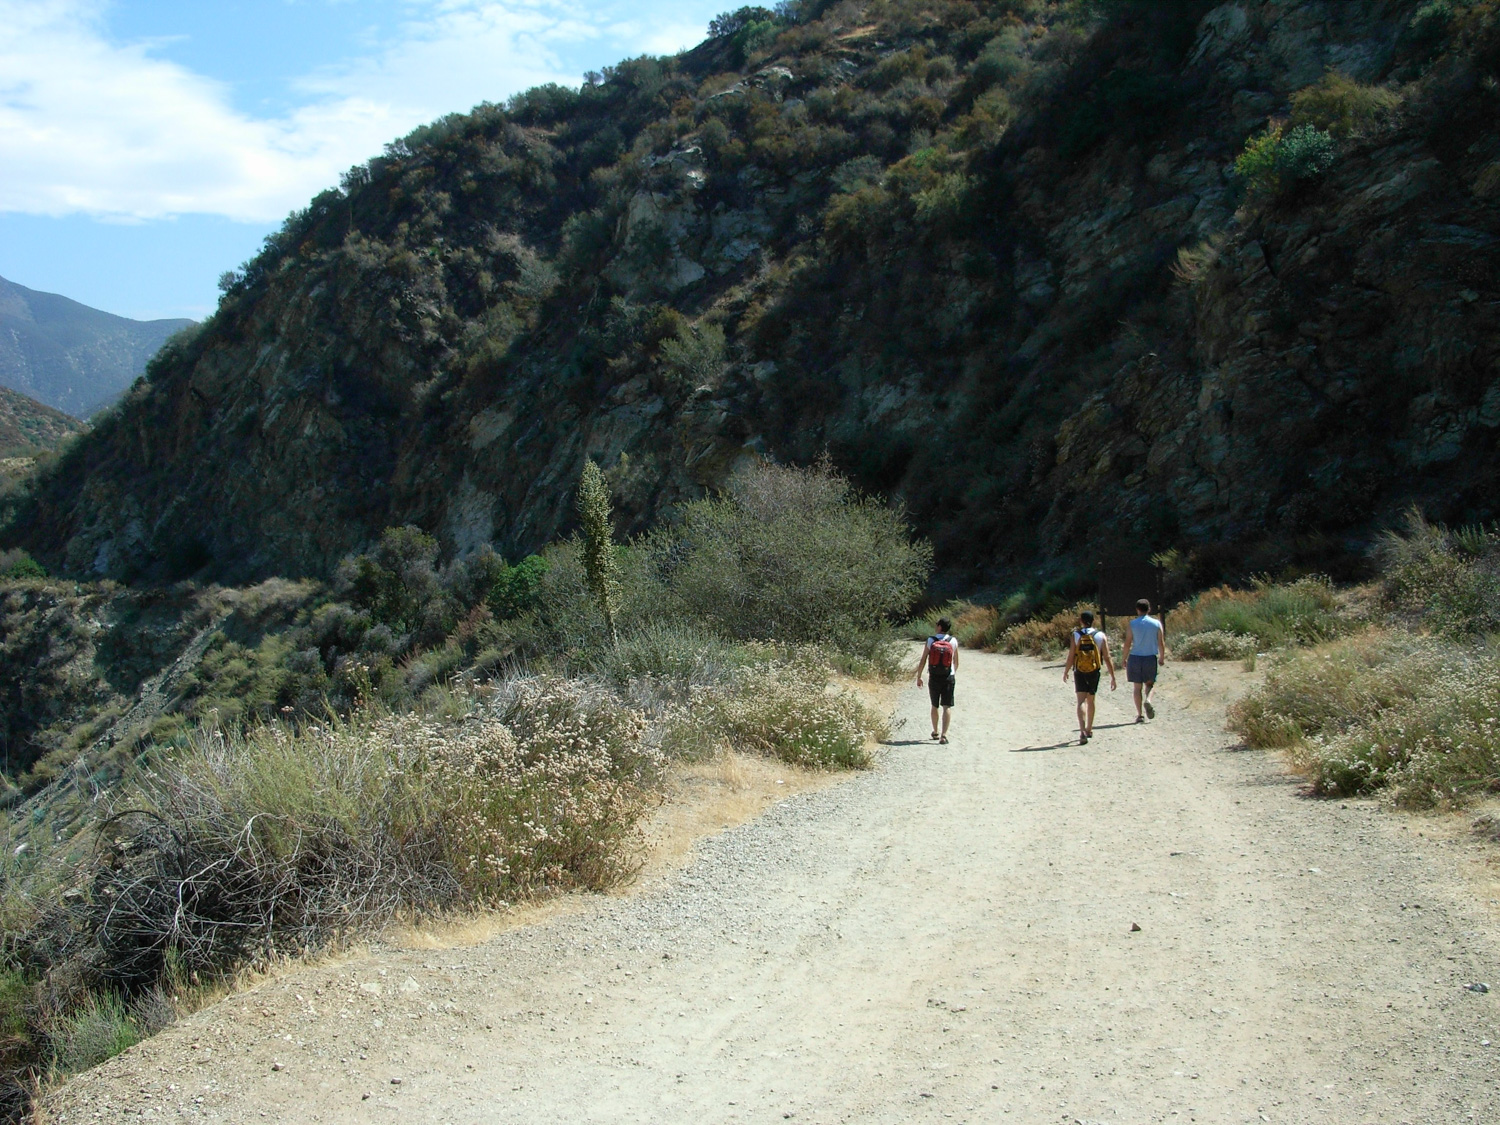
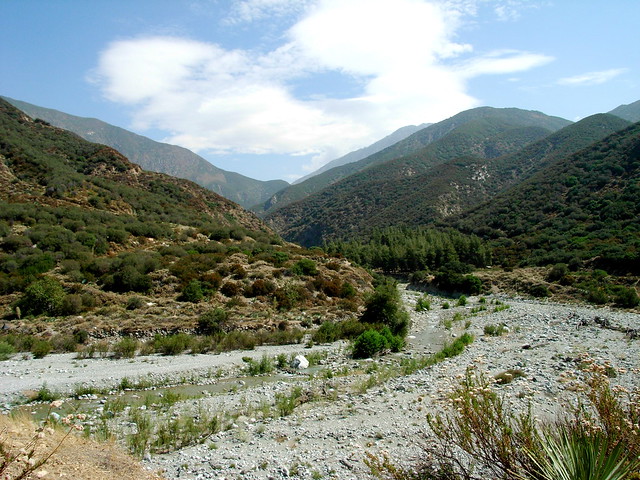
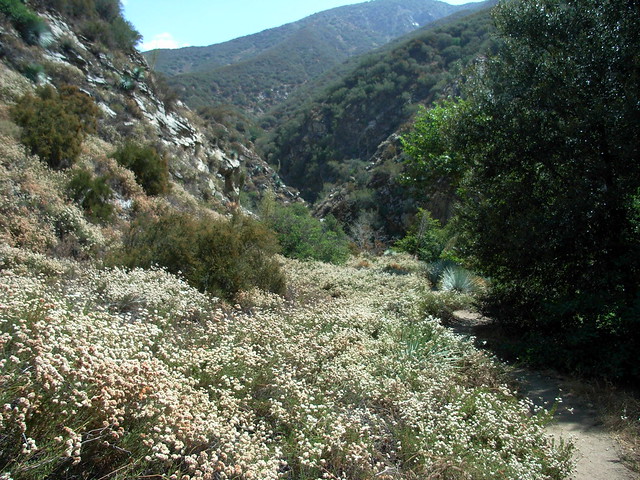
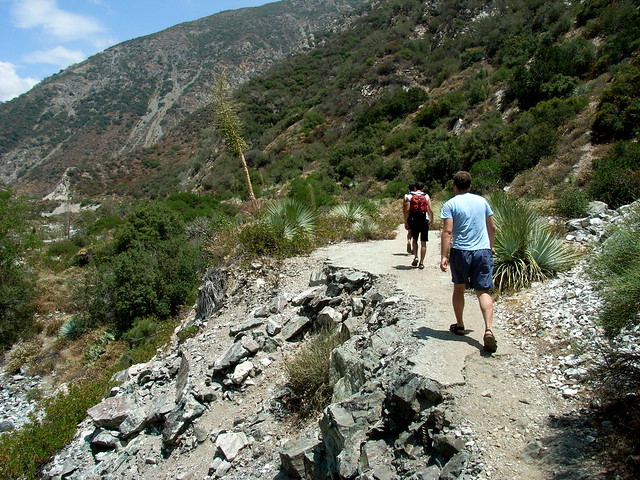
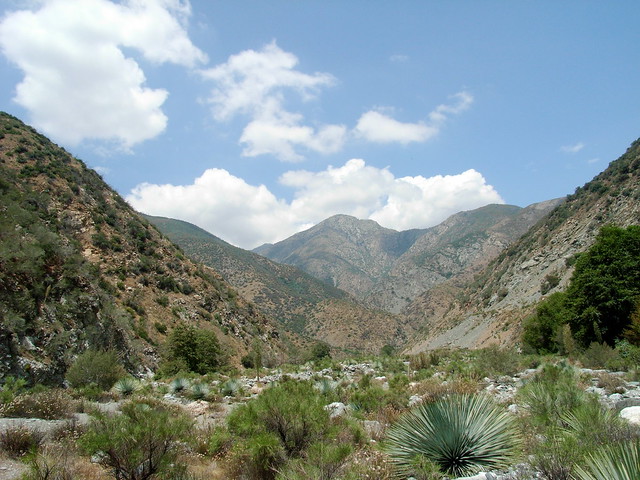
After walking around the gate, the trail descends on a wide dirt road. The road is unremarkable, although it does offer tremendous views of the landscape you’re about to enter.
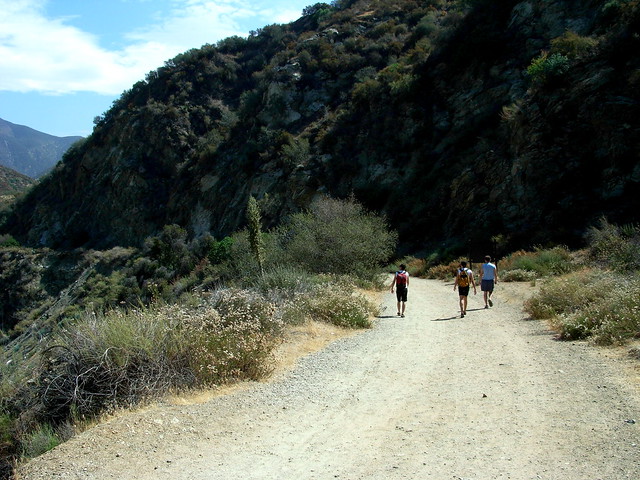
The dirt road ends at the junction with Heaton Flats Trail — the turnoff for the grueling ascent toward Iron Mountain, considered by many to be one of the most difficult day hikes in the San Gabriel Mountains. Skip this trail, hit up the bathroom if you need to, and continue along the road. It quickly narrows and makes a bee-line for the water’s edge.
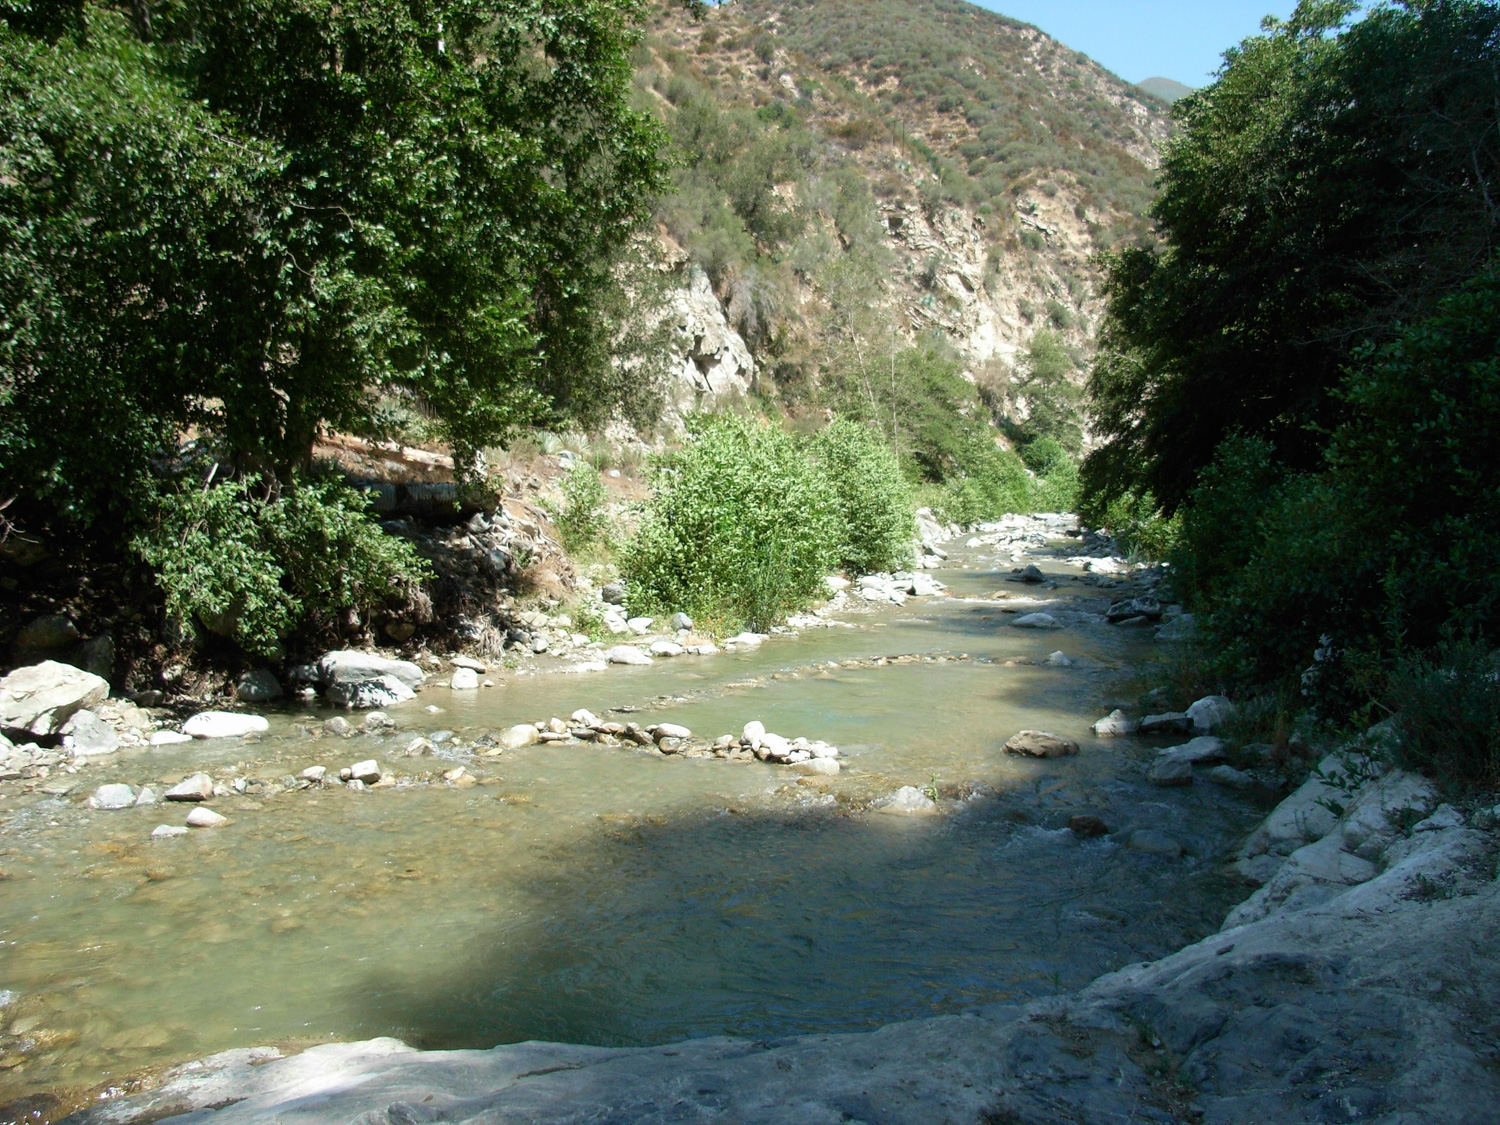
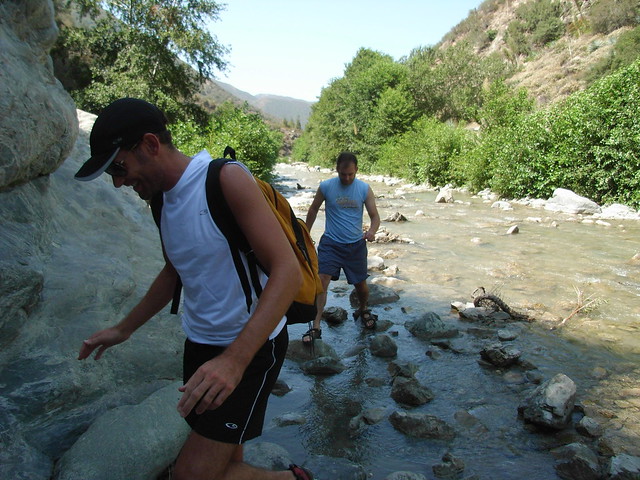
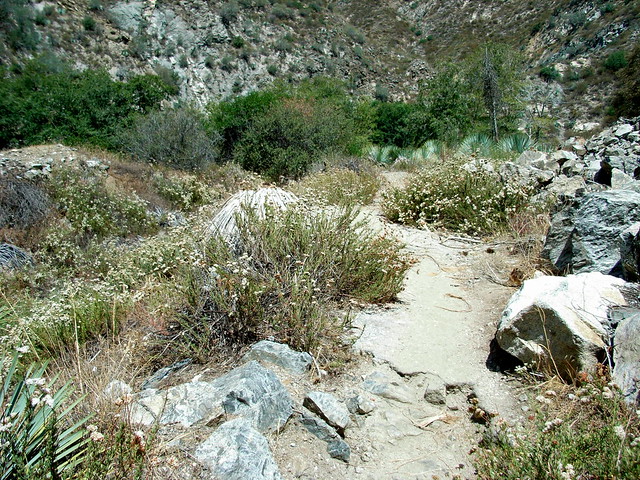
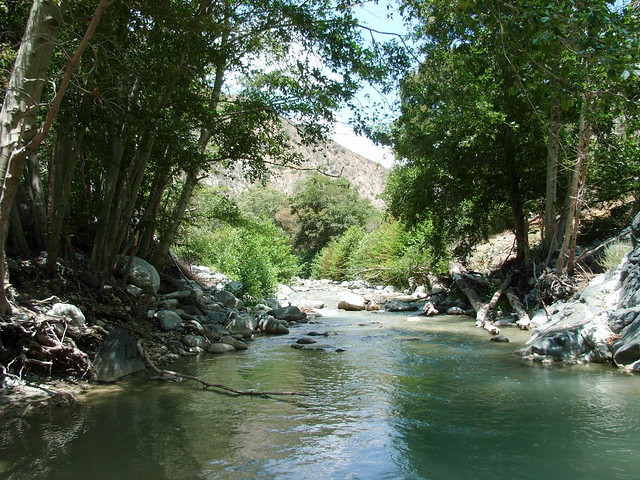
As with many sections on this trail, you can choose to walk in the loose sand of the river’s flood plain, or follow one of many well-worn footpaths on higher ground. Right here, however, either path will shortly force you to a choke point along the water. Depending on the water’s level, you will have to ford through a small section, staying on the east shore, or you can hop over a few boulders like my traveling companions did.
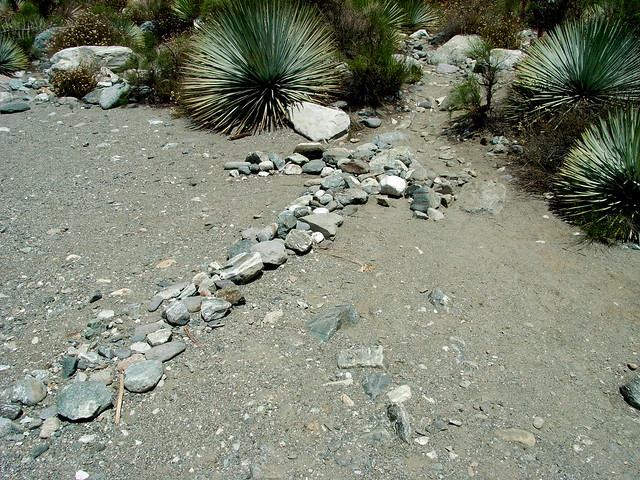
The trail stays to the east of the river at the junction with Shoemaker Canyon, a decidedly sharp curve in the river to the northeast. You’ll be able to note this location by looking both down and up — up at the western mountains to see the final tunnel in the abandoned Shoemaker Canyon Road, and down to notice the old overgrown asphalt on the failed San Gabriel River Road. This is what a Southern Californian mountain road looks like after almost 70 years of disuse.
When the river reaches Laurel Gulch, it makes a sharp turn toward the north again. The trail follows the river, and passes a sign marking the entrance to the Sheep Mountain Wilderness Area.
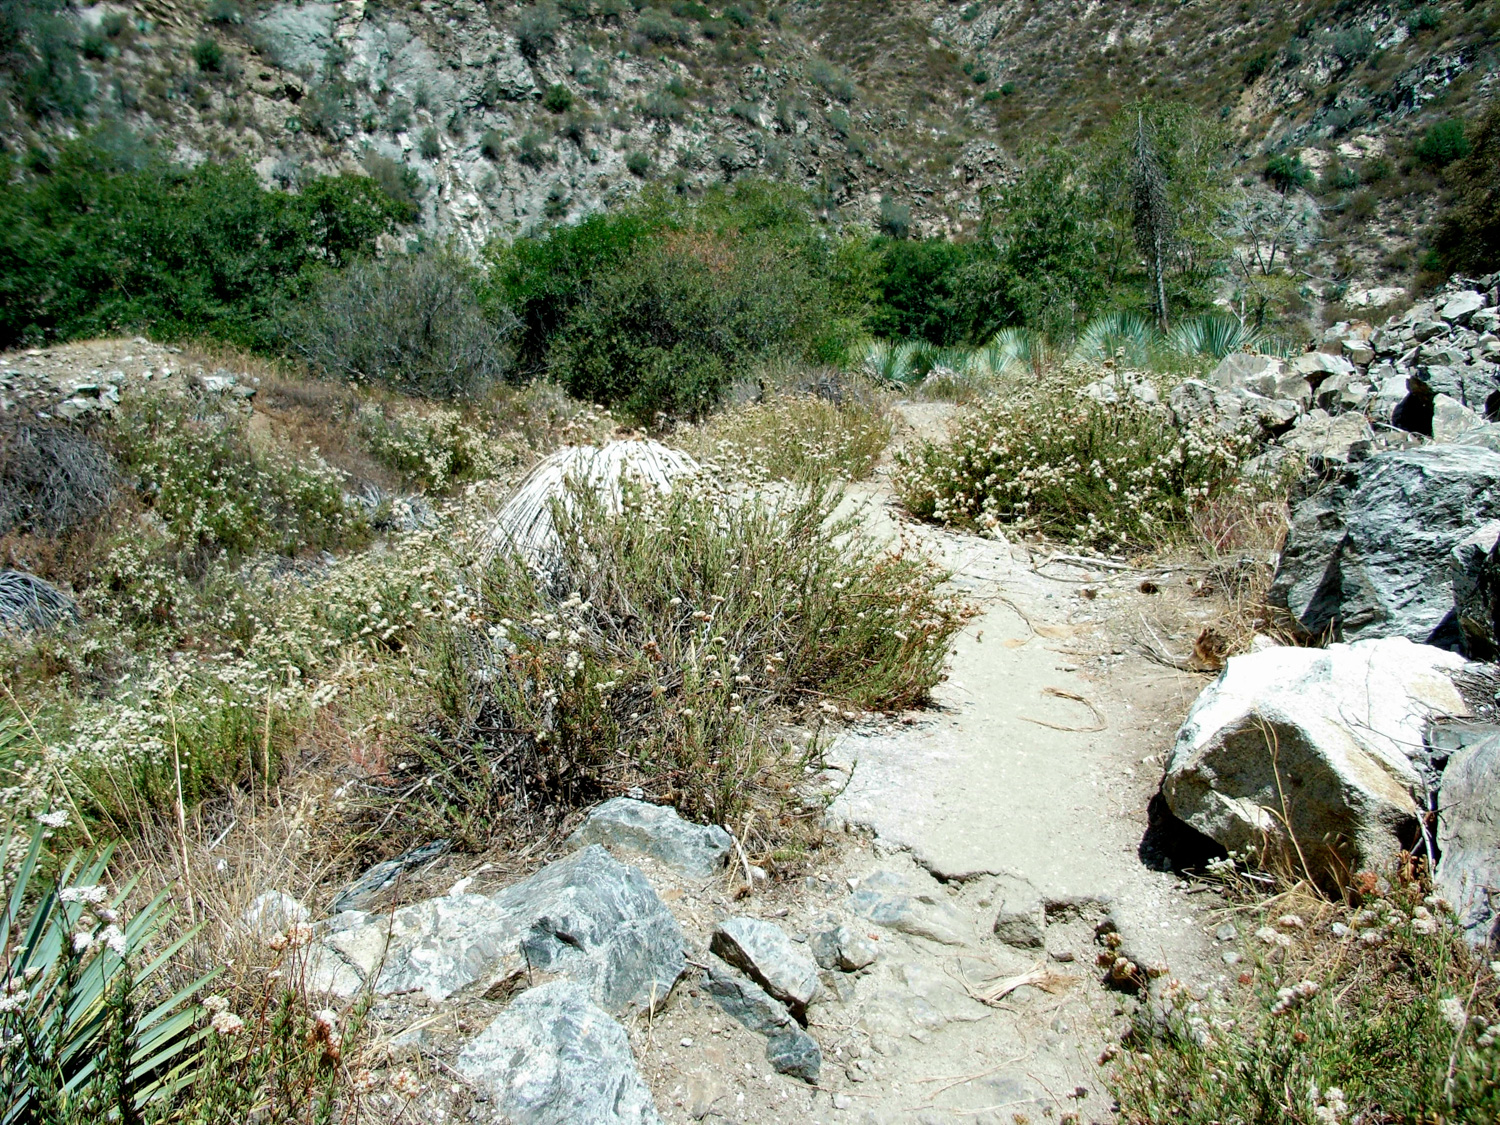
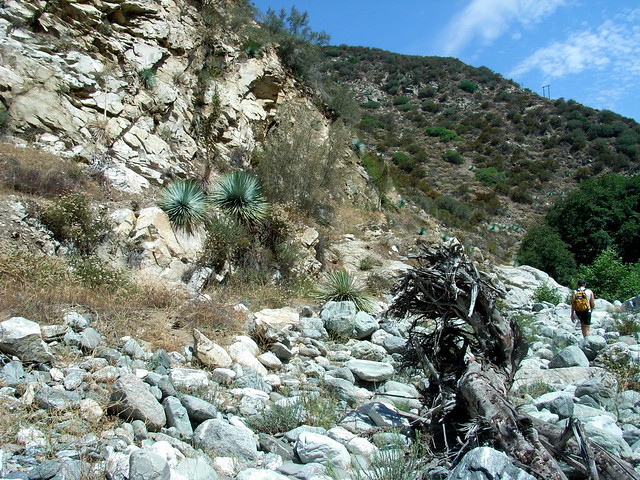
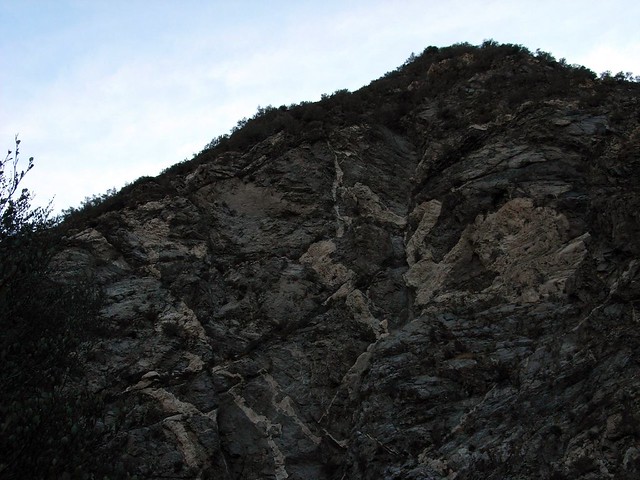
Here, the trail enters a broad, dry wash in the river (depending on water levels, of course). Before the trail leaves the riverbed to make a very short bypass to nearby Allison Gulch, be sure to look at the rock walls to your west. You should be able to make out an unusual ribbon of quartz running through an otherwise dark formation, which is known as Swan Rock.
Allison Gulch is the turn off for another approach to Iron Mountain via an unmaintained trail that passes the ruins of Allison Mine, one of the many not-very-successful former mining ventures in this region.
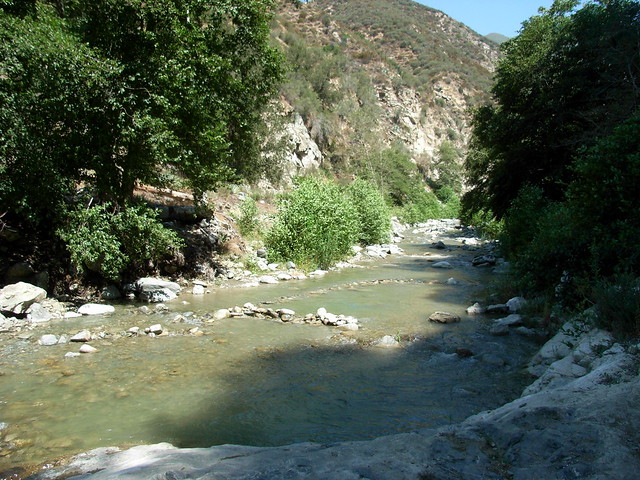
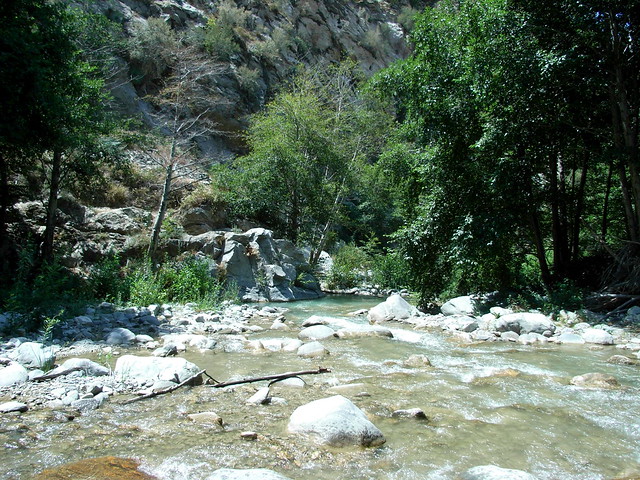
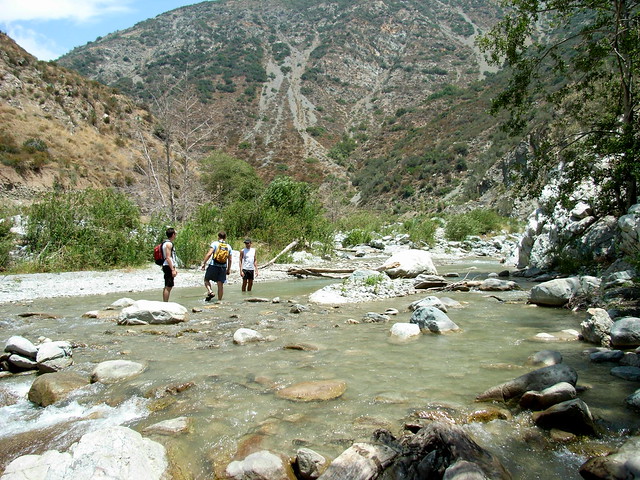
Cross the river twice again just north of Allison Gulch, enjoying the small shaded areas and deep swimming holes if it’s getting too hot out for ya.
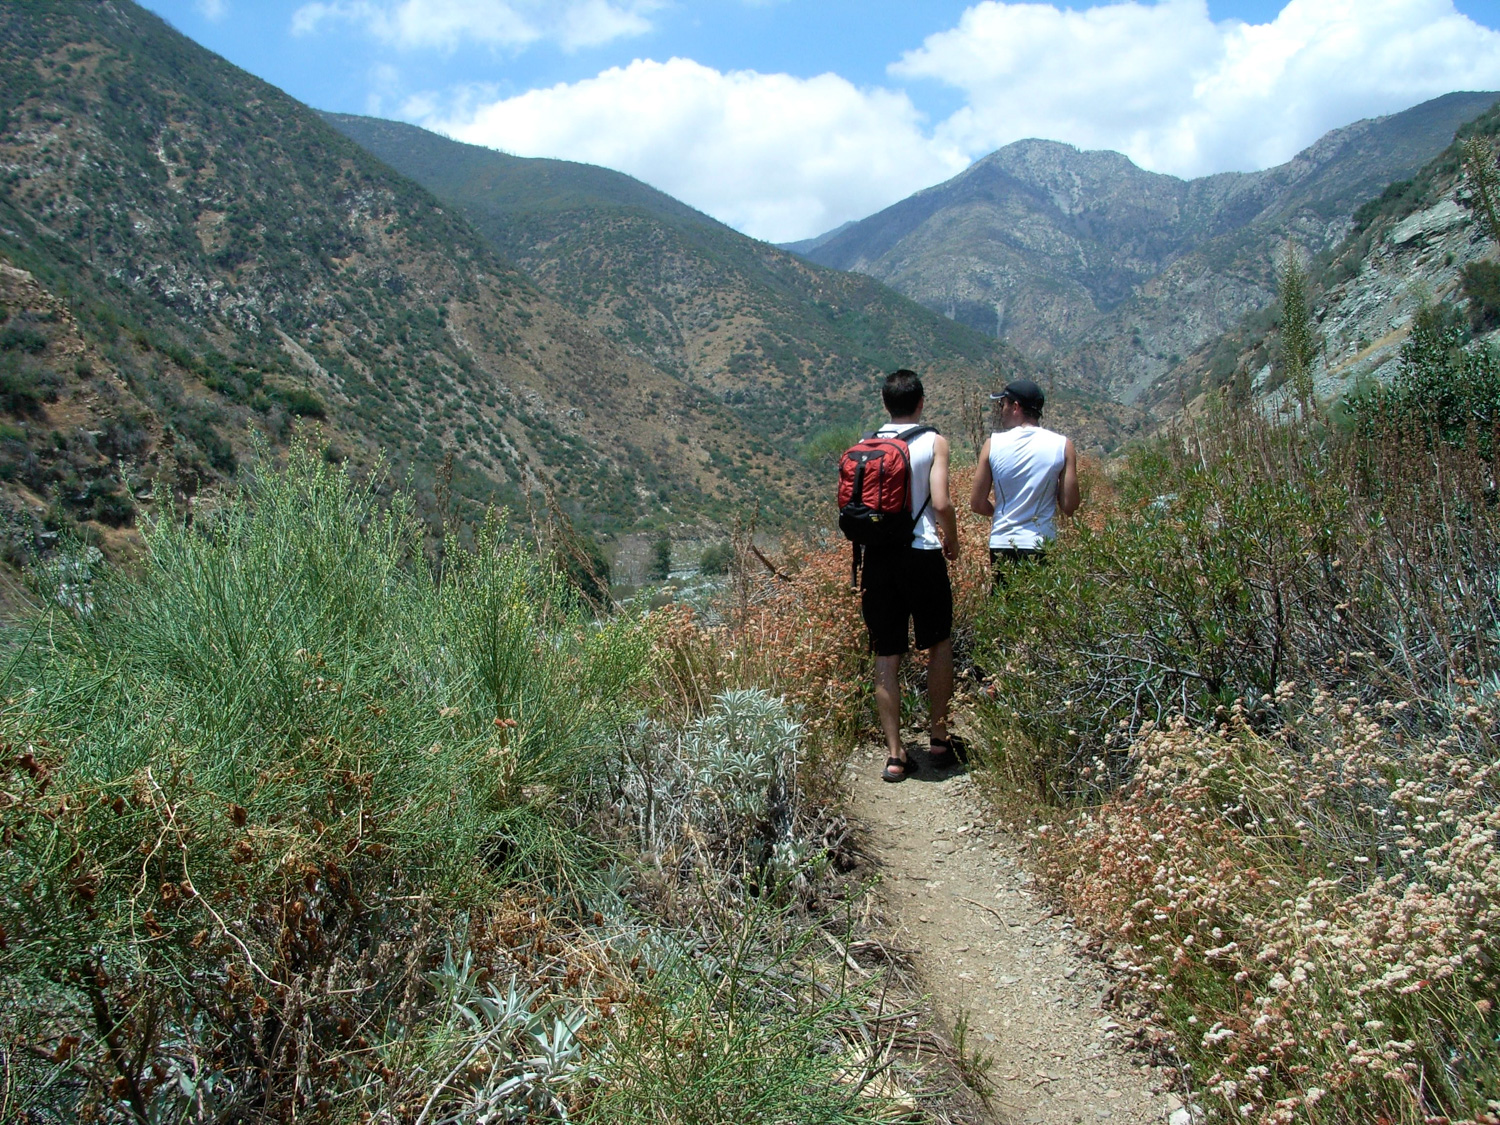
Taking the upper routes will get you to the top of a ridge overlooking the river, with an apparent ridge route along what is left of the road grade. This route is possible to travel, but it is unnecessarily dangerous and not recommended.
Instead, continue along the lower route near the river, crossing once to a low sandbar-type island in the middle of the river, then once again back to the eastern bank — again, taking time to stop and enjoy your surroundings.
After the two crossings, continue northeast, toward the higher road grade. There is a short path that scrambles up on the east side of the canyon to join this route. It’s pretty easy to find, even without this creative help left behind by some hikers with too much time on their hands.
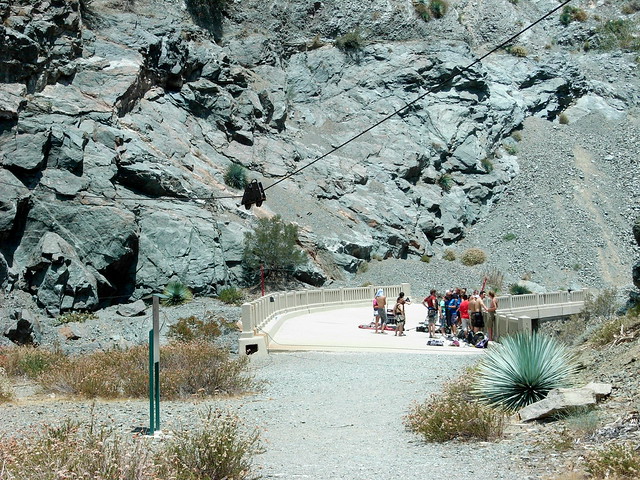
There are a few steep drop-offs near this section, but nothing any moderately cautious hiker shouldn’t be able to handle. Very shortly, you will pass a small metal cabin and get your first glimpse of the Bridge to Nowhere, which doesn’t look all that special when you first approach it.
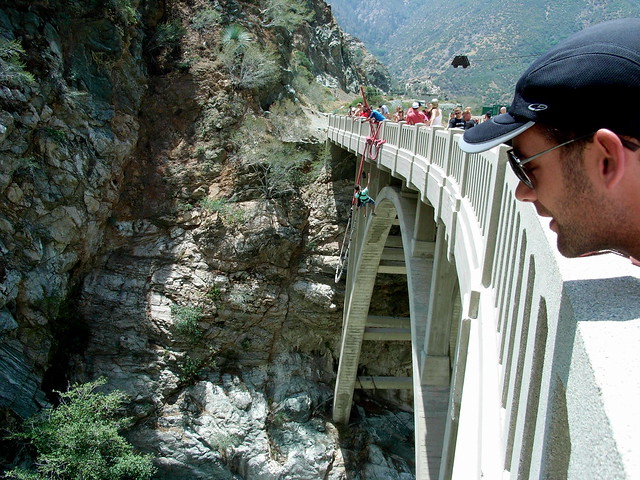
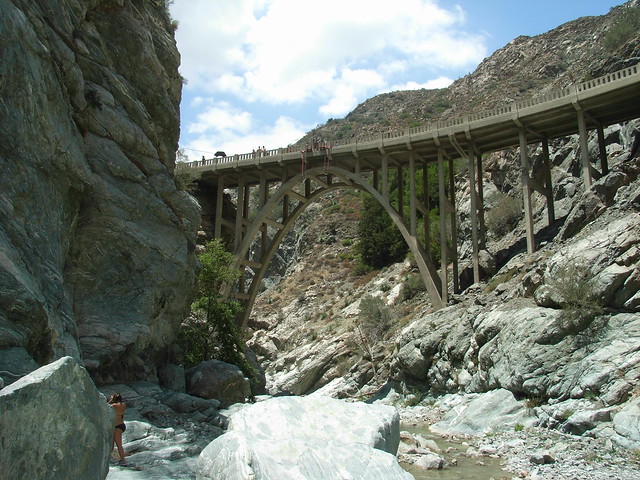
After you’ve had your fill of the sight of the Bridge to Nowhere, you have a few options — you can continue on the trail just around the next meander in the canyon to the beginnings of a blasted tunnel, continue even further past that to the Narrows — the deepest gorge in the San Gabriels — or just scramble down a use trail to some exquisite swimming holes with great views of the bridge.
We were happy to swim, but I think it may very well be impossible not to have a great time, no matter what you decide to do along this trail.
Tags: Angeles National Forest, bridge to nowhere, east fork, Hiking, Road to Nowhere, san gabriel river, swimming